Sometimes you just need a simple card.
I needed to make a card for Lu. Something simple, yet handmade, I discovered recently that she like gnomes. Her favorite color is yellow. On my quest to find some yellow paper to make her a card, I found the bright yellow paper, and then the design in her paper scraps. I remembered we had downloaded a gnome picture from DesignBundles.net.
How to put this together? I wanted to first cut out the gnome on the front cover with the Cricut machine, and put the print behind to show the gnome. Then I found that to be too complex for me!
I decided to cut out the card base and the front on the Cricut. I used a double score line for the card base to fold in half. Then I thought, maybe I would have the Cricut draw the gnome with a black pen. That works. I found a cute saying for gnomes.

At our house, we look on the back of the card for the date. That helps to put it in a scrapbook later. No, we don’t look for the Hallmark brand like some people do.
Lu noticed some yellow paper in the trash can before I gave her the card. She knew I was up to something. Hard to keep secrets from her.
Steve
I have the best husband! Thanks buddy!!
Lu
If you would like to get an email notification when I post a new blog just shot me an email with your email!!!
lu@penfolds.net


 We didn’t take many pictures in the process but here are a few in the done stages.


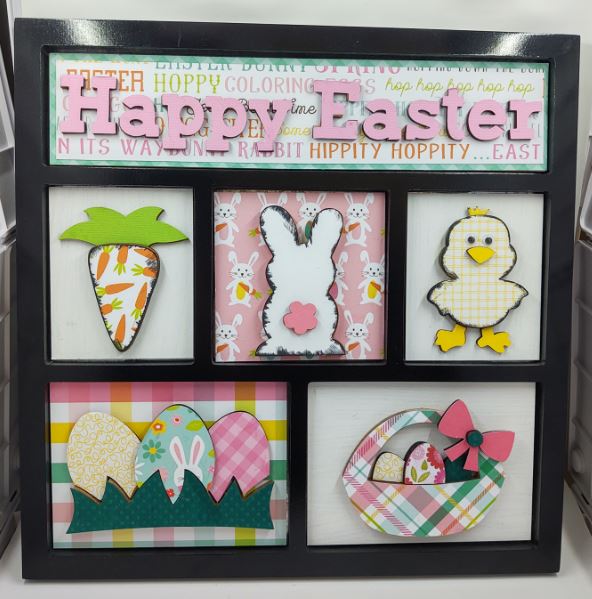
 Top view
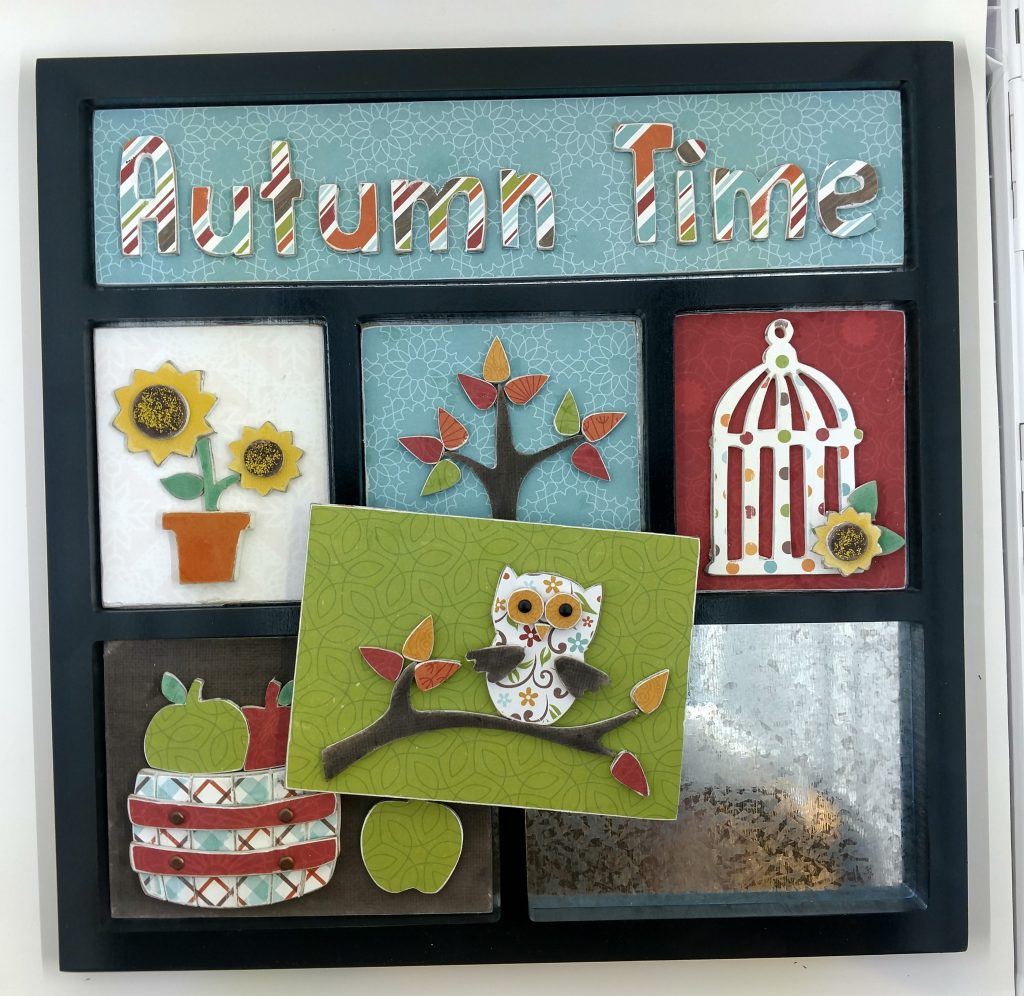