Snowman Glass Block

Another thing we made this year for gifts were these snowmen!

Again they are done with the rectangle block and then lighted and filled similar to the nativities.


These ones that we filled with stuffing we added a snowy glitter to the stuffing as we went.


We want to make some more for next year, some to sell and some for us!!!


Thanks for checking in!

Lu

If you would like to get an email notification when I post a new blog just shot me an email with your email!!!

lu@penfolds.net


1
0

Nativity Blocks

This year for our neighbor gifts we decided to do the nativity on a glass block. We found one we liked on the internet and downloaded it.   Love that this one has a dog and a cat! 

Deciding what size of block to use was the first decision. I guess I really like the rectangle block a little better than the square this year!  Then what and how much filling to put in it.  We played with the different colors and types of filling and decided we liked the silver or gold balls. We knew we wanted lights. Finding them with white cords was a challenge so we just went with the green cord.  We played with how much filling went in and decided that we liked it with a little less than full. 

Next we cut the scene our of matte, black vinyl. I like the matte a little better than the shiny, it seems a little easier to work with.  We made sure we liked how it looked on the block.


Then we started to assemble. Steve has a pair of needle nose pliers that are about 12″ long and they helped a lot to get the lights right where we wanted them. We know they will move some, but we positioned a few then added some filling, then lights, then more filling until we had them as full as we wanted. 

We ended up gluing the battery pack to the back of the block and that seemed to work well.

Thanks for taking time to stop by!


Lu

If you would like to get an email notification when I post a new blog just shot me an email with your email!!!

lu@penfolds.net

0
0

Outdoor Ornaments Blinged Out

A few weeks ago I posted how to make these balls into ornaments. My friend (Dee) told me how cute she thought they were and how fun she thought they would look on her hook. I hadn’t figured out what to do for her for Christmas yet. So I decided that’s what I would do for her! So here they are with a little more decoration than the earlier post! I use glitter glue and strings of gems to do the decorating!! And then we delivered them and hung them on her hook! She seemed to like them!!!


Merry Christmas!!!

Thanks for taking time to stop by!


Lu

If you would like to get an email notification when I post a new blog just shot me an email with your email!!!

lu@penfolds.net

0
0

Glass Block Temple

A friend of mine asked me if I would help her make a gift for a friend of hers.  She wanted to do an LDS temple on each side, as well as some wording. I thought it would be a pretty fast and easy thing! It wasn’t and so I thought I’d tell you some of the things I learned.

The first thing was finding the pictures and I had her do that so she got the views she wanted.

Then deciding on the fonts and placement of the wording was the next thing, Again I was letting her decide on the fonts. We gave her too many options and so this took longer!  The placement is something I worked on later and it had it’s own challenges. The font she chose had the capital letters spaced differently than the lower case and she wanted those moved. Then to get it centered in the temple shape made it so I had to separate some of the lines.

Then I cut it out of shiny, black vinyl.  It cut ok but by the time we sized it to the block the parts were so small that weeding was a challenge!  I had to get a magnifying glass out to get it done!

When I finally was ready to put it on the glass I ran into more problems. I don’t know if it was because the vinyl was older or if it was the way I was applying it but I ended up with bubbles everywhere that wouldn’t come out. So I had to start over with the cutting and weeding and applying. I looked online to see if I was doing something wrong. I even contacted Cricut to see if they could tell me what to do. They couldn’t. So I ended up having Steve hold the vinyl up off the glass while I worked it down about 1/8″at a time. I still had bubbles but not near as many.


Now it has been a long time since I did one and the kicker to all this is that I put the design on so that the opening was on the bottom! After all the problems we left it that way!

Next was the filling and ribbon and attaching the battery packs.

The filling I left up to my friend. Here are a couple of pictures of what she tried. She ended up liking the clear stones the best but it makes the block very, very heavy.

The ribbon was just a matter of finding one she liked and then the ribbon was easy but attaching the 2 battery packs was a bit of a challenge because she didn’t want the black to show. We ended up covering 2 ends with ribbon and making the bow tight enough to hold them in place.

Overall I think it turned out ok but I would sure do things different next time!!!

The final recipient really liked it and that is what matters!!!!


Thanks for checking in!

Lu

If you would like to get an email notification when I post a new blog just shot me an email with your email!!!

lu@penfolds.net


0
0

Christmas Boxes

We had a few requests for some Christmas boxes like we did for Halloween. It took us a little bit to find the boxes and we found some that weren’t the book style first.  So we decided to tie them all up with ribbons!!! There are a few more that I don’t have tied yet, we will add the pictures in the next couple of days!!!


They are just $12.00 a set!  Just shot us an email if you are interested in one!

Thanks for checking in!

Lu

If you would like to get an email notification when I post a new blog just shot me an email with your email!!!

lu@penfolds.net

0
0

Coloring Book Portfolio

I think I mentioned in a few blogs back that I was trying to make a coloring book portfolio for a friend. Well here is my attempt.


I started with figuring out the size for the cardboard base. Steve helped me cut it and then we laid it out to see. Then I scored the cardstock on my scoring board where it was going to need to fold. The next thing I did was to figure out the magnet placement and tape the cardboard to the cardstock. You can see that I chose to use double sided tape. I taped next to the score lines and then more in the larger areas.

Figuring out the pocket that would allow the coloring book to be replaced was a challenge. But I got it to work. I adhered it with WeldBond glue (thanks for the advice Danette).

Then because the size was a full 12″ tall I needed a way to cover the edges. I chose ribbon. This was put on with WeldBond glue again. This was a time consuming process because I could only do one side at a time and then had to turn it over to do the other side, but I had to do the corners on both sides at the same time.  I’m sure one of my crafty friends has a better way to do that but …..

The next thing to do was attaching the zipper pocket.  The plastic pocket wouldn’t stick to the paper no matter what I tried. So we came up with the idea to sandwich it between 2 pieces of cardboard and secure it with brads and tape.  This worked great and I love the way it looked!
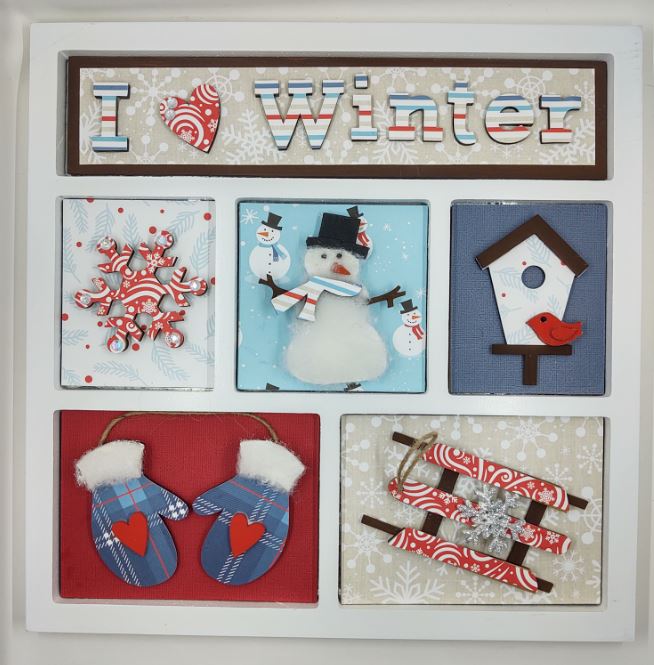
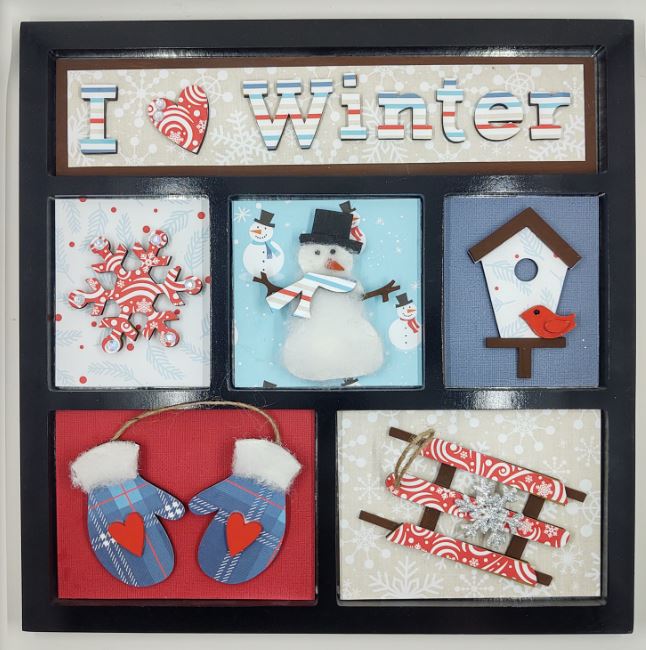
We didn’t take many pictures in the process but here are a few in the done stages.

After we got this done we agreed that it would be easier and less expensive and last longer if you made it from material and just sewed the cardboard pieces into pockets. So when I took it to my friend that I had done it for, that is what we told her. She is a quilter so she could do those better than I could! If I could find my sewing machine I would do that!!

We decide to give the prototype to my granddaughter for Christmas. So here are a few pictures with it decorated out!


Thanks for checking in!

Lu

If you would like to get an email notification when I post a new blog just shot me an email with your email!!!

lu@penfolds.net


0
0

Outside Christmas Ornaments

I’ve been wanting to make some of those oversized yard ornaments for years. Steve just still hasn’t gotten on board with it. So I thought making a smaller one would get him to see how cool they are.  It hasn’t convinced him yet, now he says they will blow away in the wind!

We started with this spreadable cheese container that he is cussing at me for saving after we have eaten the cheese! (because we have so many!) You just need to drill a couple of holes in the bottom.  We just used a cable tie for your ornament hook.

Paint the cup with a color you would like.  Most common are gold and silver.  Let your imagination go wild. If you use a light color, then you might want to sand off the writing on the cup.  Put the cable tie through the 2 holes and cinch, making sure the cinch end is inside the cup.

I found a small red ball at the local dollar store, it could be any color or you could paint it. Then I just glued the two things together! I used WeldBond but have seen things that use the 6000 kind also.

You could hang them from the house, from a Christmas tree, on a shepherd’s crook, from the fence.  You decide.

I still want to do the giant ones if I can convince Steve somehow that they won’t blow away!!!

Thanks for checking in!

Lu

If you would like to get an email notification when I post a new blog just shot me an email with your email!!!

lu@penfolds.net


0
0

Happy Birthday Popup Card

This is Steve.

I wanted to make my dad a birthday card.  I didn’t want to use a normal card.  I thought of a popup card.  I looked at the box popup that we have used before.  So I went searching on the internet for something.

I found a pop up balloon card that looked simple. 

Instructions can be found here http://paperproud.blogspot.com/2011/03/tutorial-3d- pop-up-balloon-card.html

I love to have the Cricut cut and score so I put in the design into Cricut and found some paper.  My handwriting is bad, so I had Cricut Write the big message.

Now you need to fold on the score lines, so you will have a base for the popups to set in.

Top view

Side view, the base of the popups set here in the middle.

Then you can decorate the front

And make the popups.  Use plastic acetate strips so they are see through.  You can use plastic from trays you might get rolls or vegetables in.  Just trying to be frugal.

This is what it looks like from the top

The decoration ideas came from Lu.  She is the creative one.  I had a lot of emotion in making this one.  It is his 99th birthday.

Thanks

Steve


I love when Steve finds an idea he wants to do! This one was pretty simple for him! We all remember the ZigZag village from a few years back!!!

Lu

If you would like to get an email notification when I post a new blog just shot me an email with your email!!!

lu@penfolds.net

0
0

Simple Gnome Card

Sometimes you just need a simple card.

I needed to make a card for Lu.  Something simple, yet handmade,  I discovered recently that she like gnomes.  Her favorite color is yellow.  On my quest to find some yellow paper to make her a card, I found the bright yellow paper, and then the design in her paper scraps.  I remembered we had downloaded a gnome picture from DesignBundles.net.

How to put this together?  I wanted to first cut out the gnome on the front cover with the Cricut machine, and put the print behind to show the gnome. Then I found that to be too complex for me!

I decided to cut out the card base and the front on the Cricut.  I used a double score line for the card base to fold in half.  Then I thought, maybe I would have the Cricut draw the gnome with a black pen.  That works.  I found a cute saying for gnomes.

At our house, we look on the back of the card for the date.  That helps to put it in a scrapbook later.  No, we don’t look for the Hallmark brand like some people do.

Lu noticed some yellow paper in the trash can before I gave her the card.  She knew I was up to something.  Hard to keep secrets from her.

Steve

I have the best husband! Thanks buddy!!

Lu

If you would like to get an email notification when I post a new blog just shot me an email with your email!!!

lu@penfolds.net

0
0

Last Halloween Project

I’ve got just one more Halloween project to show you then we will move onto something else!

I actually did this project to clean up a part of my house.  We had a gap between our house and our foundation that needed sealed. Steve had this idea to use drywall tape mesh to help hold the spray foam in. So he asked me to cut him some lengths. I did too many and so we had some lengths left. So they have been sitting here waiting to have something done with them.  

I bought a couple of pans from the dollar store and got my glue gun out! I know you have all seen these a million times!

First you have to paint them.  

So here are my drywall  tape mummies!!!

We put the picture of the one (below) I did a few years back in also  so you could see the difference in the materials. I did that one with gauze.

So these are $12.00 each

Lu

If you would like to get an email notification when I post a new blog just shot me and email with your email!!!

lu@penfolds.net

0
0